GPath CNC
Creating a CNC project
Last updated Oct 14, 2026, 6:31 PM
This guide walks you through creating your first CNC project in GPath CNC. From the welcome screen, through project setup, to the drawing workspace.
1. Launch GPath CNC
When you open the app, you land on the welcome screen.
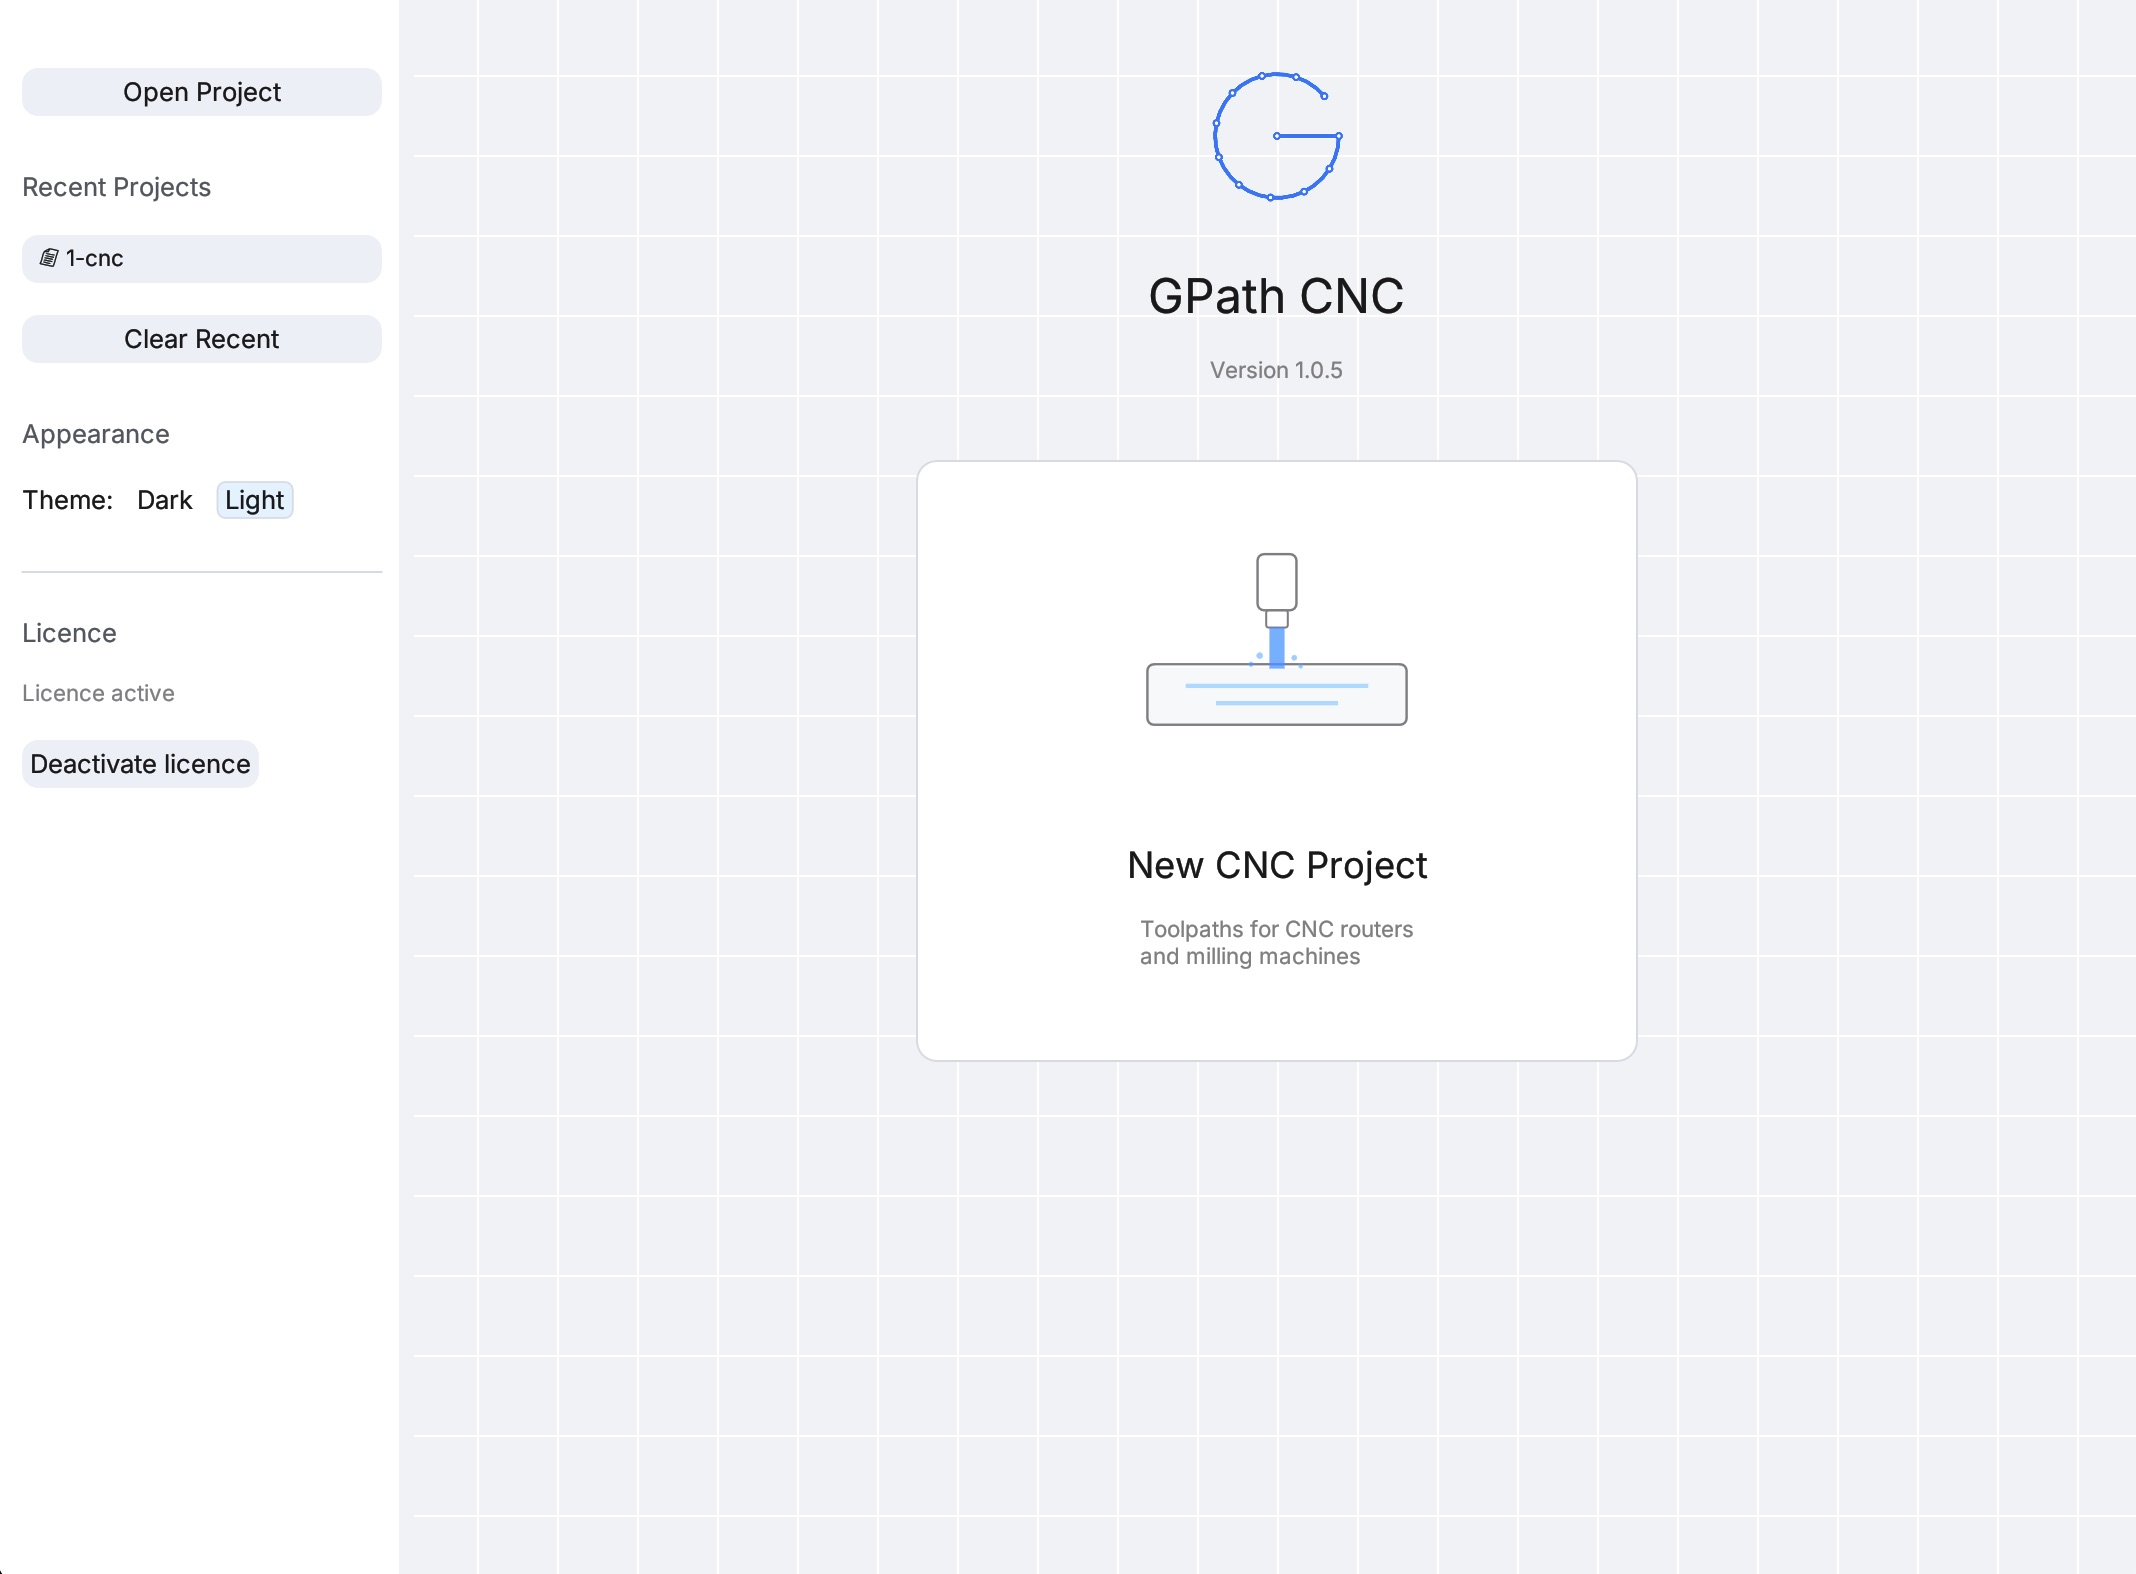
The window is split into two areas:
| Area | What it shows |
|---|---|
| Left sidebar | Project actions, recent files, appearance, and licence |
| Main splash area | App logo, version number, and the New CNC Project card |
2. Welcome screen sidebar
The left sidebar is your hub for opening existing work and adjusting app preferences.
Open Project
Click Open Project to browse for an existing .gpath file. GPath CNC filters the file picker to GPath Project files (.gpath extension).
Keyboard shortcut inside project: ⌘O (macOS) or Ctrl+O (Windows).
Recent Projects
Below Open Project, recently opened files appear as clickable rows. Use Clear Recent to empty the list (this does not delete the files on disk).
Appearance
Switch between Dark and Light themes. This setting applies across the welcome screen and all project screens.
Licence
Project actions (new, open, recent) require an active trial or licence.
- If you are not licensed, the New CNC Project card on the splash is dimmed and cannot be clicked. A note beneath the card explains why (for example, trial not started, trial ended, or subscription lapsed).
- Use the Licence section in the sidebar to enter your licence key or start a trial.
- Once licensed, the card becomes active and the lock note disappears.
3. Start a new CNC project
Click the New CNC Project card in the main splash area.
You are taken to the Create New CNC Project screen.
4. Set material size
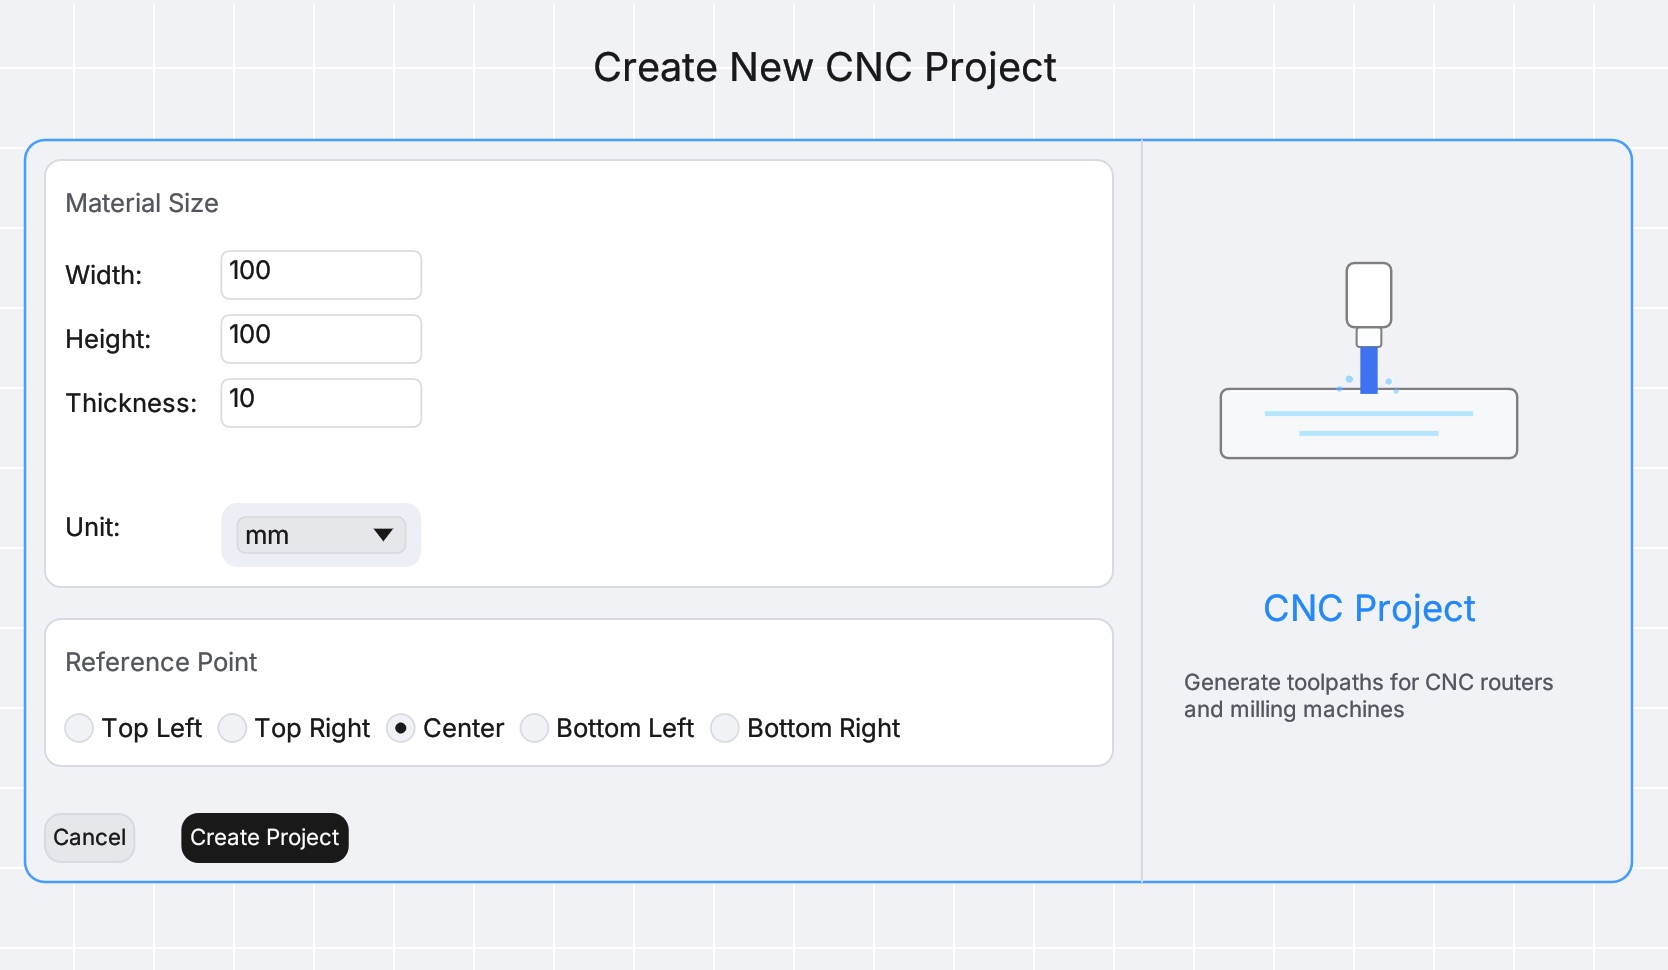
Inisde the Create New CNC Project screen, the Material Size section defines the stock material for your job. All drawing and toolpath coordinates are relative to this block.
| Field | Description |
|---|---|
| Width | Material width in the X direction |
| Height | Material height in the Y direction |
| Thickness | Material thickness in the Z direction (used for pocket depth limits, material removal simulation, and safe-height calculations) |
| Unit | mm or inch |
Defaults
When you first open the dialog, these defaults are pre-filled:
| Unit | Width | Height | Thickness |
|---|---|---|---|
| mm | 100 | 100 | 10 |
| inch | 4 | 4 | 0.5 |
Enter the actual dimensions of your stock. Match what you will clamp on the machine bed.
Switching units
Changing the Unit dropdown converts the current width, height, and thickness values between millimetres and inches automatically.
Maximum size
GPath CNC enforces a maximum material footprint of 5080 × 5080 mm (200 × 200 inches). If width or height exceeds this limit, a red warning appears and the Create Project button is disabled.
5. Choose a reference point
The Reference Point sets the origin (0, 0) of your coordinate system on the material. This is the position your tool/cutter begins on your machine.
Five options are available:
| Option | Origin location |
|---|---|
| Top Left | Top-left corner of the material |
| Top Right | Top-right corner |
| Center | Centre of the material |
| Bottom Left | Bottom-left corner |
| Bottom Right | Bottom-right corner |
Why it matters
- Every shape you draw is positioned in coordinates relative to this origin.
- G-code output uses the same coordinate frame.
- The canvas shows a reference-point marker (toggle via View → Show Reference Point).
- Rulers and grid lines are laid out according to the chosen origin.
Tip: Check your machine's work-coordinate setup before choosing. Many hobby routers use Bottom Left (front-left corner of the stock). Pick the option that matches your controller — you can change it later, but existing shapes will shift on the canvas when you do.
6. Create the project
When material size is valid, click Create Project.
GPath CNC:
- Creates a new empty project with your settings
- Sets default Home Z and Safe Z heights (10 mm or 1 inch, depending on unit)
- Opens the project workspace on the 2D Drawing tab
You are now ready to draw.