GPath CNC
Drill
Last updated Jul 26, 2026, 11:41 AM
1. Create a drill toolpath
Open the Toolpaths tab and click New Drill Toolpath, or add one from the toolpath panel.
Select shapes whose centres mark hole locations — circles, squares, polygons, and other closed vectors all work. GPath places one hole at each shape’s geometric centre. Assign a drill or end mill, set depths, and save the toolpath.
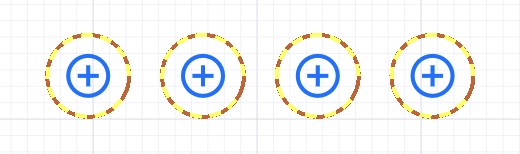
Drill markers on the canvas show planned hole sites when the toolpath is visible.
2. Depth
Set Start Depth (top of the hole) and Finish Depth (bottom of the hole) in project units.
For through-holes, set finish depth to the bottom of the material (or slightly below). For blind holes, stop at the required depth.
Unlike profile and pocket toolpaths, drilling does not use milling direction, start-point selection, leads, or entry ramping.
3. Peck drilling
Enable Peck drilling when you need to break chips or clear swarf on deep holes.
| Setting | Behaviour |
|---|---|
| Peck depth | Taken from the tool step-down value — adjust the tool if you need a different peck increment |
| Retract to previous peck height | Tool pulls back to the top of the last peck before the next plunge |
| Retract above start depth (set clearance Z) | Tool retracts to a clearance height above the work surface between pecks |
Peck drilling reduces heat and chip packing in deep or sticky materials. For shallow holes in soft material, a single plunge is often enough.
4. Tool selection
Use a drill bit or end mill sized for the hole.
Feed rate, plunge rate, spindle speed, and step-down come from the assigned tool. Home position, safe Z, and clearance heights follow project settings shared by all CNC toolpaths.